







Reduced Fridrich Method
If you've entered here, it must be because you already know how to solve the cube using the beginner's method. If not, please first visit the beginner's method.
It's also essential that you know the notation for the 3x3x3 cube. If you don't know it, you can review it by clicking the following button.
You can download the booklets with all the algorithms for the reduced Fridrich method on the downloads page.
The CFOP method, also known as the Fridrich method, in honor of its creator, Jessica Fridrich, is the most used method by speedcubers to solve the cube in the fastest way. The complete Fridrich method or CFOP requires learning many different algorithms and lots of practice, which is why we can start with the reduced method that doesn't require memorizing so many algorithms and later we can learn more.
It consists of 4 different steps:
- Cross: As in the beginner's method, we will first make the cross.
- F2L: Short for First Two Layers: in this step, we will solve the first two layers at once.
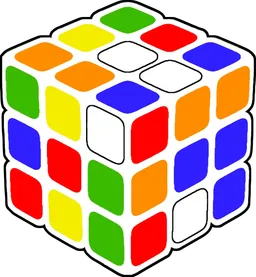
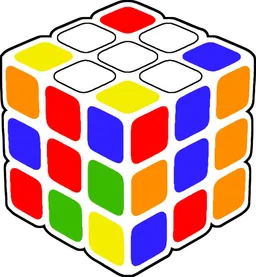
- OLL: Short for Orient Last Layer: we will orient the pieces of the last layer so that the entire yellow face is solved, without worrying about whether the pieces are in the correct place.
- PLL: Short for Permute Last Layer: in this last step, we will permute the pieces of the last layer to solve the cube.
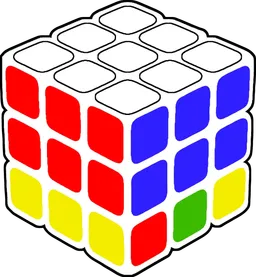
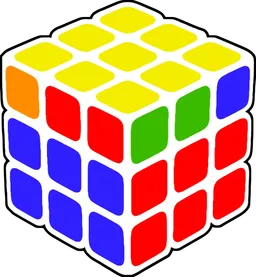
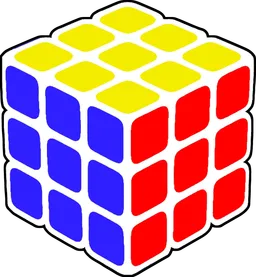
Since here I will explain the reduced method, we will subdivide some of the 4 cases into several steps.
The cross
Since you already know how to solve the cube with the beginner's method and know how to make the cross perfectly, we won't stop here to explain it again. Make the cross as you know and let's move on.
F2L: The first two layers
To solve the first two layers at once, we can memorize many algorithms, 42 specifically in complete F2L, but the best way to do it is intuitively.
Unlike the beginner's method, we will now hold the cube with the cross on the bottom layer. If we started by solving the white cross, the white layer will always face down now.
Since we are not doing complete F2L, but the reduced version, here are the 24 simplest F2L cases. These are the cases where the edge and the corner are on the top layer. If you don't encounter this case, try to move the corner and edge to the top layer intuitively, and later you can use one of the 24 algorithms.
As I mentioned earlier, try to understand and find the logic behind the different algorithms. This way, you'll be able to do F2L intuitively, and you won't need to memorize all the cases.
Edge and corner in the upper layer
Basics
Corner with white facing a side
Corner with white facing up
Reduced OLL: Orientation of the last layer
OLL consists of orienting all the pieces of the last layer so that all of them have yellow facing up, regardless of whether they are in the correct position or not.
In complete OLL, there are 58 different algorithms to orient the pieces of the last layer with a single algorithm, but we are learning the reduced method, so we won't need to learn all 58 algorithms. We'll reduce it to 9 by splitting OLL into two steps: yellow cross and corner orientation.
Yellow cross
To make the yellow cross, we will learn a new algorithm to try to speed up this step. Knowing this algorithm and the one we used in the beginner's method will allow us to go directly from the L position and the I position to the cross. In the case we get the dot, we will have to combine both algorithms.
Remember that we don't use the yellow face as the front face. The image is shown this way to clearly see the arrangement of the upper face.
Corner orientation
To orient the corners and achieve the entire yellow face, there are 7 different cases, each with its algorithm to achieve it.
Just like for the cross, the yellow face should be on top.
Reduced PLL: Permutation of the last layer
PLL consists of swapping the pieces of the last layer without changing their orientation. Complete PLL consists of 21 different algorithms. Since we are learning the reduced CFOP method, we will divide PLL into two steps to learn 6 algorithms instead of 21. The two steps are corner permutation and edge permutation.
Permutation of corners
We may encounter 2 different cases, each with its algorithm to solve them.
By moving the top layer of the cube, we can always get two corners in their correct positions. Once in place, we need to check if these two correctly positioned corners are next to each other or are opposite corners.
Side corners: If they are next to each other, orient the cube so that these two pieces are at the back with the yellow face facing up. Now we can apply algorithm number 1 to place and orient all the corners.
Opposite corners: We will orient the cube so that the yellow face is facing up and one of the correctly placed corners is in the top right of the front face. Now we can apply algorithm number 2 to solve the corners.
Edge permutation
In edge permutation, we may encounter 4 different cases. We must use one of the following 4 algorithms depending on the case we find, and then the cube will be solved.
Congratulations! You have solved the cube!